Simple Red Nail Looks - Quick Polish Ideas
Putting on a bright coat of color can really make a difference, can't it? A vibrant shade of red on your nails just seems to bring a certain kind of confidence, and it’s a look that never really goes out of style. You might think creating something striking takes a lot of effort, but honestly, it’s often much simpler than it appears, so.
Many folks find themselves short on spare time, yet still want to feel put together and bright. Just like whipping up a satisfying meal on a busy weeknight doesn't have to be a big production, getting a lovely red nail art look on your fingers can be a quick and rewarding little project, too it's almost. It’s all about finding those clever shortcuts that give you a polished result without all the fuss, you know?
This idea of making something special, yet keeping it pretty straightforward, really applies to so many things, including your nails. We’re going to explore how that classic red can become your go-to for a quick splash of color or even a bit of playful design. Think of it as your secret weapon for looking chic without needing a whole afternoon set aside, that.
- Angelaalvarez Twitter
- Zooemoore Of Leak
- Krissy Lynn Twitter
- Proud Elephant Twitter
- Kevin Oconnor Twitter
Table of Contents
- Why Pick Simple Red Nail Art?
- Getting Started with Easy Red Nail Art Basics
- What Tools Make Easy Red Nail Art a Cinch?
- Simple Steps for Your First Easy Red Nail Art Design
- How Can Easy Red Nail Art Fit Any Occasion?
- Quick Fixes and Speedy Easy Red Nail Art Ideas
- Are There Unexpected Twists for Easy Red Nail Art?
- Making Your Easy Red Nail Art Last Longer
Why Pick Simple Red Nail Art?
Red, as a shade, holds a special spot in many people's hearts. It’s a color that speaks of energy, of being bold, and sometimes, just a touch of fun. When you choose red for your fingernails, you’re often making a statement without saying a word, is that? It has a way of catching the eye, whether you are just running errands or going to a special get-together. The appeal of a classic red is that it works for almost anyone, no matter their personal style or what they might be wearing. It is a true staple, really.
Think about how some of the best comfort foods are simple, yet they always hit the spot. Red nail art can be a lot like that. It doesn't need a lot of complicated additions to be good. A single, smooth coat of a lovely red can be all you need to feel put together and bright. It’s the kind of choice that brings a little spark to your day, and it's quite an easy way to feel a bit more dressed up, yet. The simplicity means you can get it done pretty fast, which is a big plus when you have a full schedule.
For those times when you want something that looks like it took ages but actually came together in a flash, red is your friend. It has this incredible way of looking quite sophisticated, even when you've just done a quick coat. This is a bit like how some quick dinner ideas can taste like they were prepared by a chef, even though they were quite simple to make. Red polish just has that inherent sense of polish and grace, very, very. It's a color that feels good, looks good, and doesn't ask too much of your time or skill, which is rather nice.
- Chennedy Carter Twitter
- Bernice Burgos Twitter
- Adil Raja Twitter
- Wiener Circle Twitter
- Bokep Twitter Indonesia
Choosing red also means you are opting for a shade that has a long history of being loved. It’s a bit of a timeless favorite, like a classic song that everyone knows and enjoys. This means you won't have to worry about your nail color going out of fashion. It stays relevant, always a good pick for any season or reason. That reliability makes it a really good choice for those who want a go-to color that always works, a little. It truly is a versatile color that stands the test of time, in a way.
Getting Started with Easy Red Nail Art Basics
To begin your journey with simple red nail art, you don't need a whole lot of fancy items. Think of it like getting ready to make a straightforward meal; you just need the main ingredients and a few basic tools. For nails, this means a good quality red polish, a clear base coat, and a clear top coat. These three bottles are your foundation, so. Having a nail file handy is also a good idea to shape your nails nicely before you even start painting. A smooth surface helps the color look its best, too it's almost.
Prepping your nails is a key step, much like getting your cooking space ready before you start mixing things. Make sure your nails are clean and dry. Any old polish should be completely gone. Pushing back your cuticles gently can also make a big difference in how neat your finished look appears. This bit of preparation really helps the red polish go on smoothly and stick well, that. It’s a small effort that yields a much better outcome, is that? Just a quick wipe with a bit of nail polish remover, even if you don't have polish on, can get rid of any oils that might be lingering, yet.
When you put on the base coat, aim for a thin, even layer. This helps protect your natural nails from staining and gives the red polish something to hold onto. Let it dry completely before you move on to the color. Patience here pays off, very, very. It's like waiting for an oven to preheat; you don't want to rush it if you want the best results. A good base coat can also help your easy red nail art last longer, which is rather convenient. It creates a smooth canvas for the vibrant red, a little.
Choosing your shade of red is the fun part. There are so many kinds of red, from bright cherry to deep, dark wine. Pick one that makes you feel good. You might have a few different red polishes, and that’s perfectly fine. Sometimes a bright red feels right, and other times a more subdued shade is what you want. It’s all about what suits your mood or the event. Remember, this is about making it easy and enjoyable for you, so. Don't feel like you need to have a specific type of red; any red you like will work just fine, in a way.
What Tools Make Easy Red Nail Art a Cinch?
You might be surprised by how few items you truly need to create some lovely easy red nail art. It’s a bit like how some of the most satisfying recipes only call for a handful of ingredients. Beyond your red polish, base, and top coats, a few simple items can really help. A small, thin brush, like one you might use for art projects, can be very useful. This helps you draw small details or clean up edges, too it's almost. You can often find these brushes at craft stores, or even use a very thin makeup brush that you’ve cleaned well, that.
Another helpful item is a dotting tool. These are little sticks with small, rounded ends that let you make perfect dots on your nails. They come in different sizes, so you can make tiny sprinkles or bigger spots. If you don’t have a specific dotting tool, you can use things you might already have around the house. The end of a bobby pin, for example, or a toothpick, can work quite well for making dots, is that? It’s about being a bit clever with what’s available, rather than buying a whole new set of specialized items, yet.
For cleaning up any little mistakes, a small brush dipped in nail polish remover is a true helper. This lets you get a crisp, clean line around your cuticles and nail edges, making your easy red nail art look much more professional. Some people use cotton swabs, but a small brush gives you more control, very, very. It’s a quick fix that makes a big difference in the final appearance, and it’s something you’ll use every time, rather. Keeping your tools clean is also a good habit, just like cleaning up after cooking, a little.
Don't forget about cotton pads or balls and nail polish remover for general clean-up. These are pretty standard, but worth mentioning. And if you want to add a bit of sparkle, a small dish or piece of foil for glitter or tiny gems can be handy. This gives you a place to pick up those little decorative pieces without making a mess. The goal is to make the process as simple and enjoyable as possible, so. You don't need a huge collection of items to get started; just a few thoughtful choices will do, in a way.
Simple Steps for Your First Easy Red Nail Art Design
Once you have your nails prepped and your tools ready, putting on your first easy red nail art design is quite straightforward. Start with that thin layer of base coat, letting it dry fully. This is your foundation, and it really helps the color stick and look good, too it's almost. Then, apply your first coat of red polish. Aim for a thin, even layer. Two thin coats are almost always better than one thick one, as thick coats tend to bubble or take forever to dry, that.
Let that first coat of red dry for a few minutes. You don't need it to be completely dry, just dry enough so it's not tacky. Then, put on your second thin coat of red. This second layer usually makes the color look much richer and more opaque. Again, let it dry for a bit. This patience step is pretty important for a smooth finish. It's like letting a cake cool before you frost it; rushing can just mess things up, is that?
Now comes the "art" part, which can be as simple as you like. For a very easy red nail art look, you could just add a single dot of a contrasting color near the base of your nail with your dotting tool. A gold or silver dot on red looks quite festive and elegant. Or, you could try a tiny heart shape with a thin brush. Just two small strokes meeting at a point can make a sweet little heart, yet. The key is to keep it minimal and not try to do too much at once, very, very.
After your design is dry, finish with a good quality top coat. This is like the glaze on a pastry; it seals everything in, adds shine, and helps your easy red nail art last longer. Apply a generous, but not too thick, layer. This step is really important for protecting your hard work and giving it that professional, glossy finish. Let it dry completely, and try not to bump your nails for a while. You’ve done it! A simple, lovely red nail look, rather. It’s all about those layers and a little bit of drying time, a little.
How Can Easy Red Nail Art Fit Any Occasion?
The beauty of simple red nail art is its incredible adaptability. Just like a classic dish that can be dressed up or down for different gatherings, red nails can suit almost any event you can think of. For a regular day at work or just running errands, a single, clean coat of bright red is perfectly appropriate. It’s a subtle touch of color that makes you feel put together without being overly flashy, so. It's a bit like a dependable pair of jeans; always a good choice, too it's almost.
When you have a more special event, like a dinner with friends or a family celebration, you can add a little something extra to your easy red nail art. Perhaps a touch of glitter on one accent nail, or a very small, simple design like a single stripe. This elevates the look just enough to feel festive, but it doesn't require a lot of extra time or skill. It’s similar to adding a garnish to a simple meal to make it feel a bit more special, that. The red itself already brings a certain elegance, and a small addition just enhances it, is that?
For holidays, red is an absolute winner. Think about how red is a key color for so many festive times, like winter celebrations or patriotic days. Your easy red nail art can become part of your holiday spirit. You could do a simple red base with a white dot for a candy cane feel, or add a gold accent for a touch of sparkle. It’s a fun way to participate in the mood of the season, and it’s pretty straightforward to do, yet. It’s a color that naturally fits with joy and celebration, very, very.
Even for those moments when you just want to feel a little bit fancy for yourself, without any particular reason, red nail art is a great pick. It’s a small personal indulgence that doesn't cost much or take a lot of time. It’s a way to treat yourself, like enjoying a favorite snack. The color itself has a powerful presence, making you feel more confident and put together. It's a truly versatile choice that works for every single day or for those truly special moments, rather. It’s always a good idea, a little.
Quick Fixes and Speedy Easy Red Nail Art Ideas
Sometimes, you just need a quick splash of color on your nails, and you don't have a lot of time. This is where the true speed of easy red nail art shines. If you're really pressed for time, just one thin coat of red polish can be enough to give your nails a neat, bright look. It might not be as opaque as two coats, but it’s still a vast improvement over bare nails, so. It's a bit like a quick breakfast idea that gets you out the door fast but still tastes good, too it's almost.
Another speedy idea is to focus on just one or two nails. You could paint all your nails a classic red, and then on just your ring finger, add a simple stripe or a few dots in a contrasting color like white or black. This gives you a bit of design without having to do intricate work on every single nail. It’s a clever shortcut that still looks intentional and stylish, that. This method saves a lot of time and still provides a fun little pop, is that?
For a truly quick fix if you have a chip, sometimes just adding a bit of glitter over the chipped area can hide it surprisingly well. A small dab of clear top coat, then a sprinkle of fine glitter, can turn a flaw into a feature. It’s not a permanent solution, but it works wonders for a temporary cover-up when you’re in a rush, yet. This trick can really extend the life of your easy red nail art for a few more hours, very, very. It's about being resourceful with what you have, rather.
Keep a quick-dry top coat on hand. These products can dramatically cut down on the drying time for your easy red nail art. After applying your red polish and any simple design, a quick-dry top coat can have your nails feeling set in just a few minutes. This is a real blessing for busy people who don't want to sit around waiting for their nails to dry. It's a small investment that pays off big in terms of convenience and speed, a little. It truly makes the whole process much faster, in a way.
Are There Unexpected Twists for Easy Red Nail Art?
While classic red is fantastic on its own, there are some clever ways to give your easy red nail art a little twist without making it complicated. Have you ever thought about using different textures? A matte top coat over your glossy red polish can completely change the look. It gives a sophisticated, velvety finish that’s quite striking and unexpected, so. It’s a simple switch that makes your red nails look totally different, too it's almost.
Another interesting idea is to play with negative space. This means leaving parts of your natural nail showing through the design. For example, you could paint just the tips of your nails red, or create a simple red outline around the edge of your nail, leaving the center clear. This looks really modern and chic, but it’s actually quite simple to do with a steady hand and a thin brush, that. It’s a bit like how some dishes highlight the natural ingredients by not covering them up, is that?
Consider using red as an accent on a different base color. While this article focuses on red nail art, sometimes a touch of red on a nude or white base can be a surprising pop of color. Imagine a clean white nail with just a single red dot or a tiny red heart near the cuticle. It’s a fresh take on using red that still keeps things easy and impactful, yet. This approach allows the red to stand out even more, very, very. It’s a nice way to incorporate the color without it being the main focus, rather.
Don't forget about glitter. Instead of covering the whole nail, try just adding a thin line of red glitter polish along the tip of your red nail, or a small cluster of glitter at the base. This adds sparkle and dimension without being overwhelming. It’s a simple way to add a festive touch or a bit of glam to your easy red nail art. These small additions can make a big impact on the overall look, a little. It’s about those little details, in a way.
Making Your Easy Red Nail Art Last Longer
You’ve put in the effort to create your lovely easy red nail art, and of course, you want it to stay looking good for as long as possible. One of the best ways to ensure this is by always using a good base coat and top coat. These two products act as protective layers. The base coat helps the polish stick better to your nail, reducing chipping, so. The top coat seals everything in, adding a hard, shiny shield that resists nicks and scratches, too it's almost.
Applying thin layers of polish is also key for longevity. Thick layers take much longer to dry, and they are more prone to smudging and chipping. Think of it like painting a wall; many thin coats adhere better and last longer than one thick, gloppy coat. Patience during the drying process between coats also helps a lot, that. Each layer needs a moment to set before the next one goes on, is that? Rushing this step is a common reason for polish not lasting, yet.
Protecting your hands during daily tasks can make a big difference. When you’re doing dishes, cleaning, or any activity that involves water or harsh chemicals, wearing gloves is a smart move. Water can weaken polish, and cleaning products can strip it away. It’s a simple habit that really helps preserve your easy red nail art, very, very. This small step can extend the life of your manicure by a good few days, rather.
Finally, consider reapplying a thin layer of top coat every couple of days. This refreshes the shine and adds another layer of protection, helping to prevent chips before they even start. It’s a quick touch-up that takes only a minute but can significantly extend the wear of your easy red nail art. This is a bit like doing a quick clean-up after a meal to keep the kitchen tidy; small efforts make a big difference over time, a little. It keeps your nails looking fresh and bright, in a way.
- Scru Face Jean Twitter
- Twitter Aye Verb
- Footjob Porn Twitter
- Haunted House Video Twitter
- Katy Robertson Leak

「簡単」を表す単語の使い分け!「easy」や「simple」の違いとは - ネイティブキャンプ英会話ブログ | 英会話の豆知識や情報満載
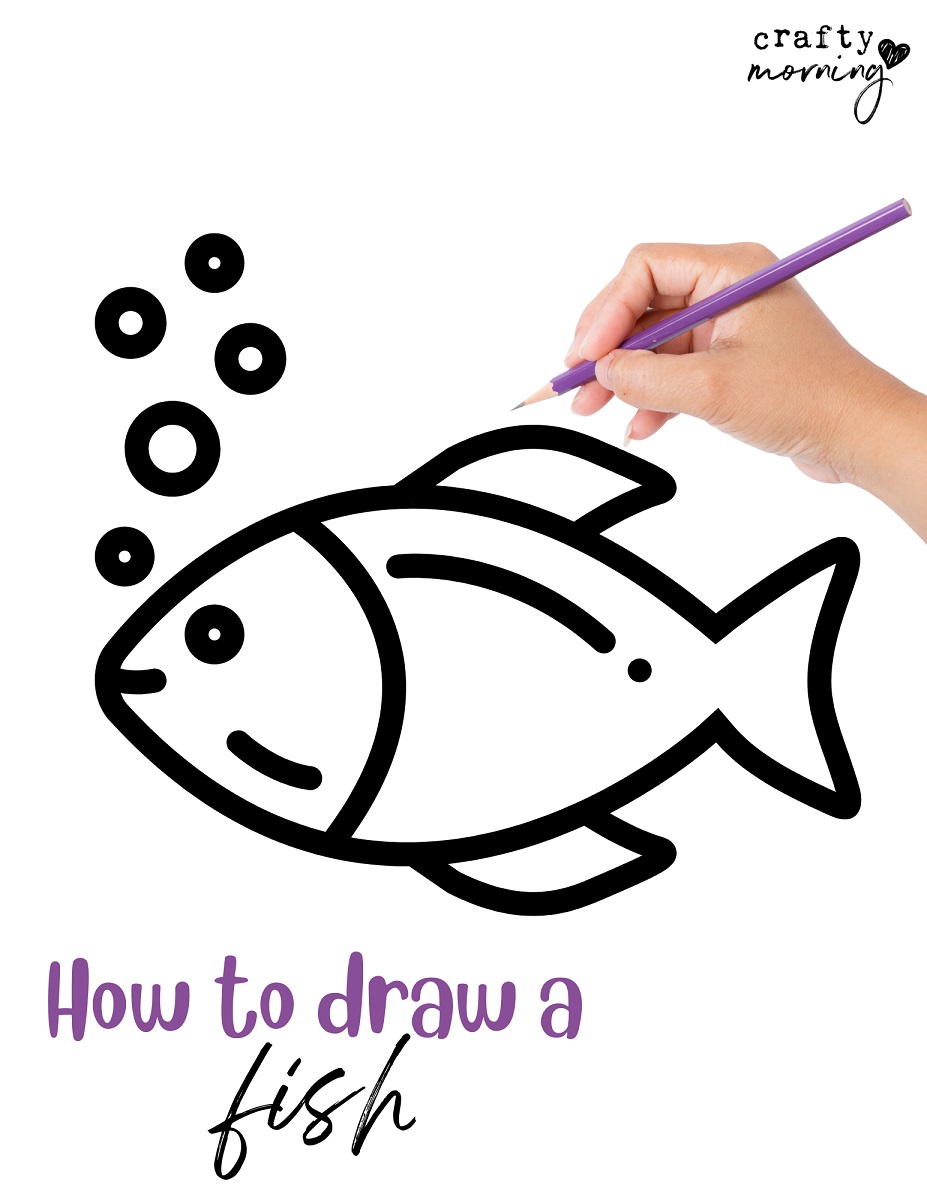
Easy Fish Drawing- Step by Step Printable - Crafty Morning
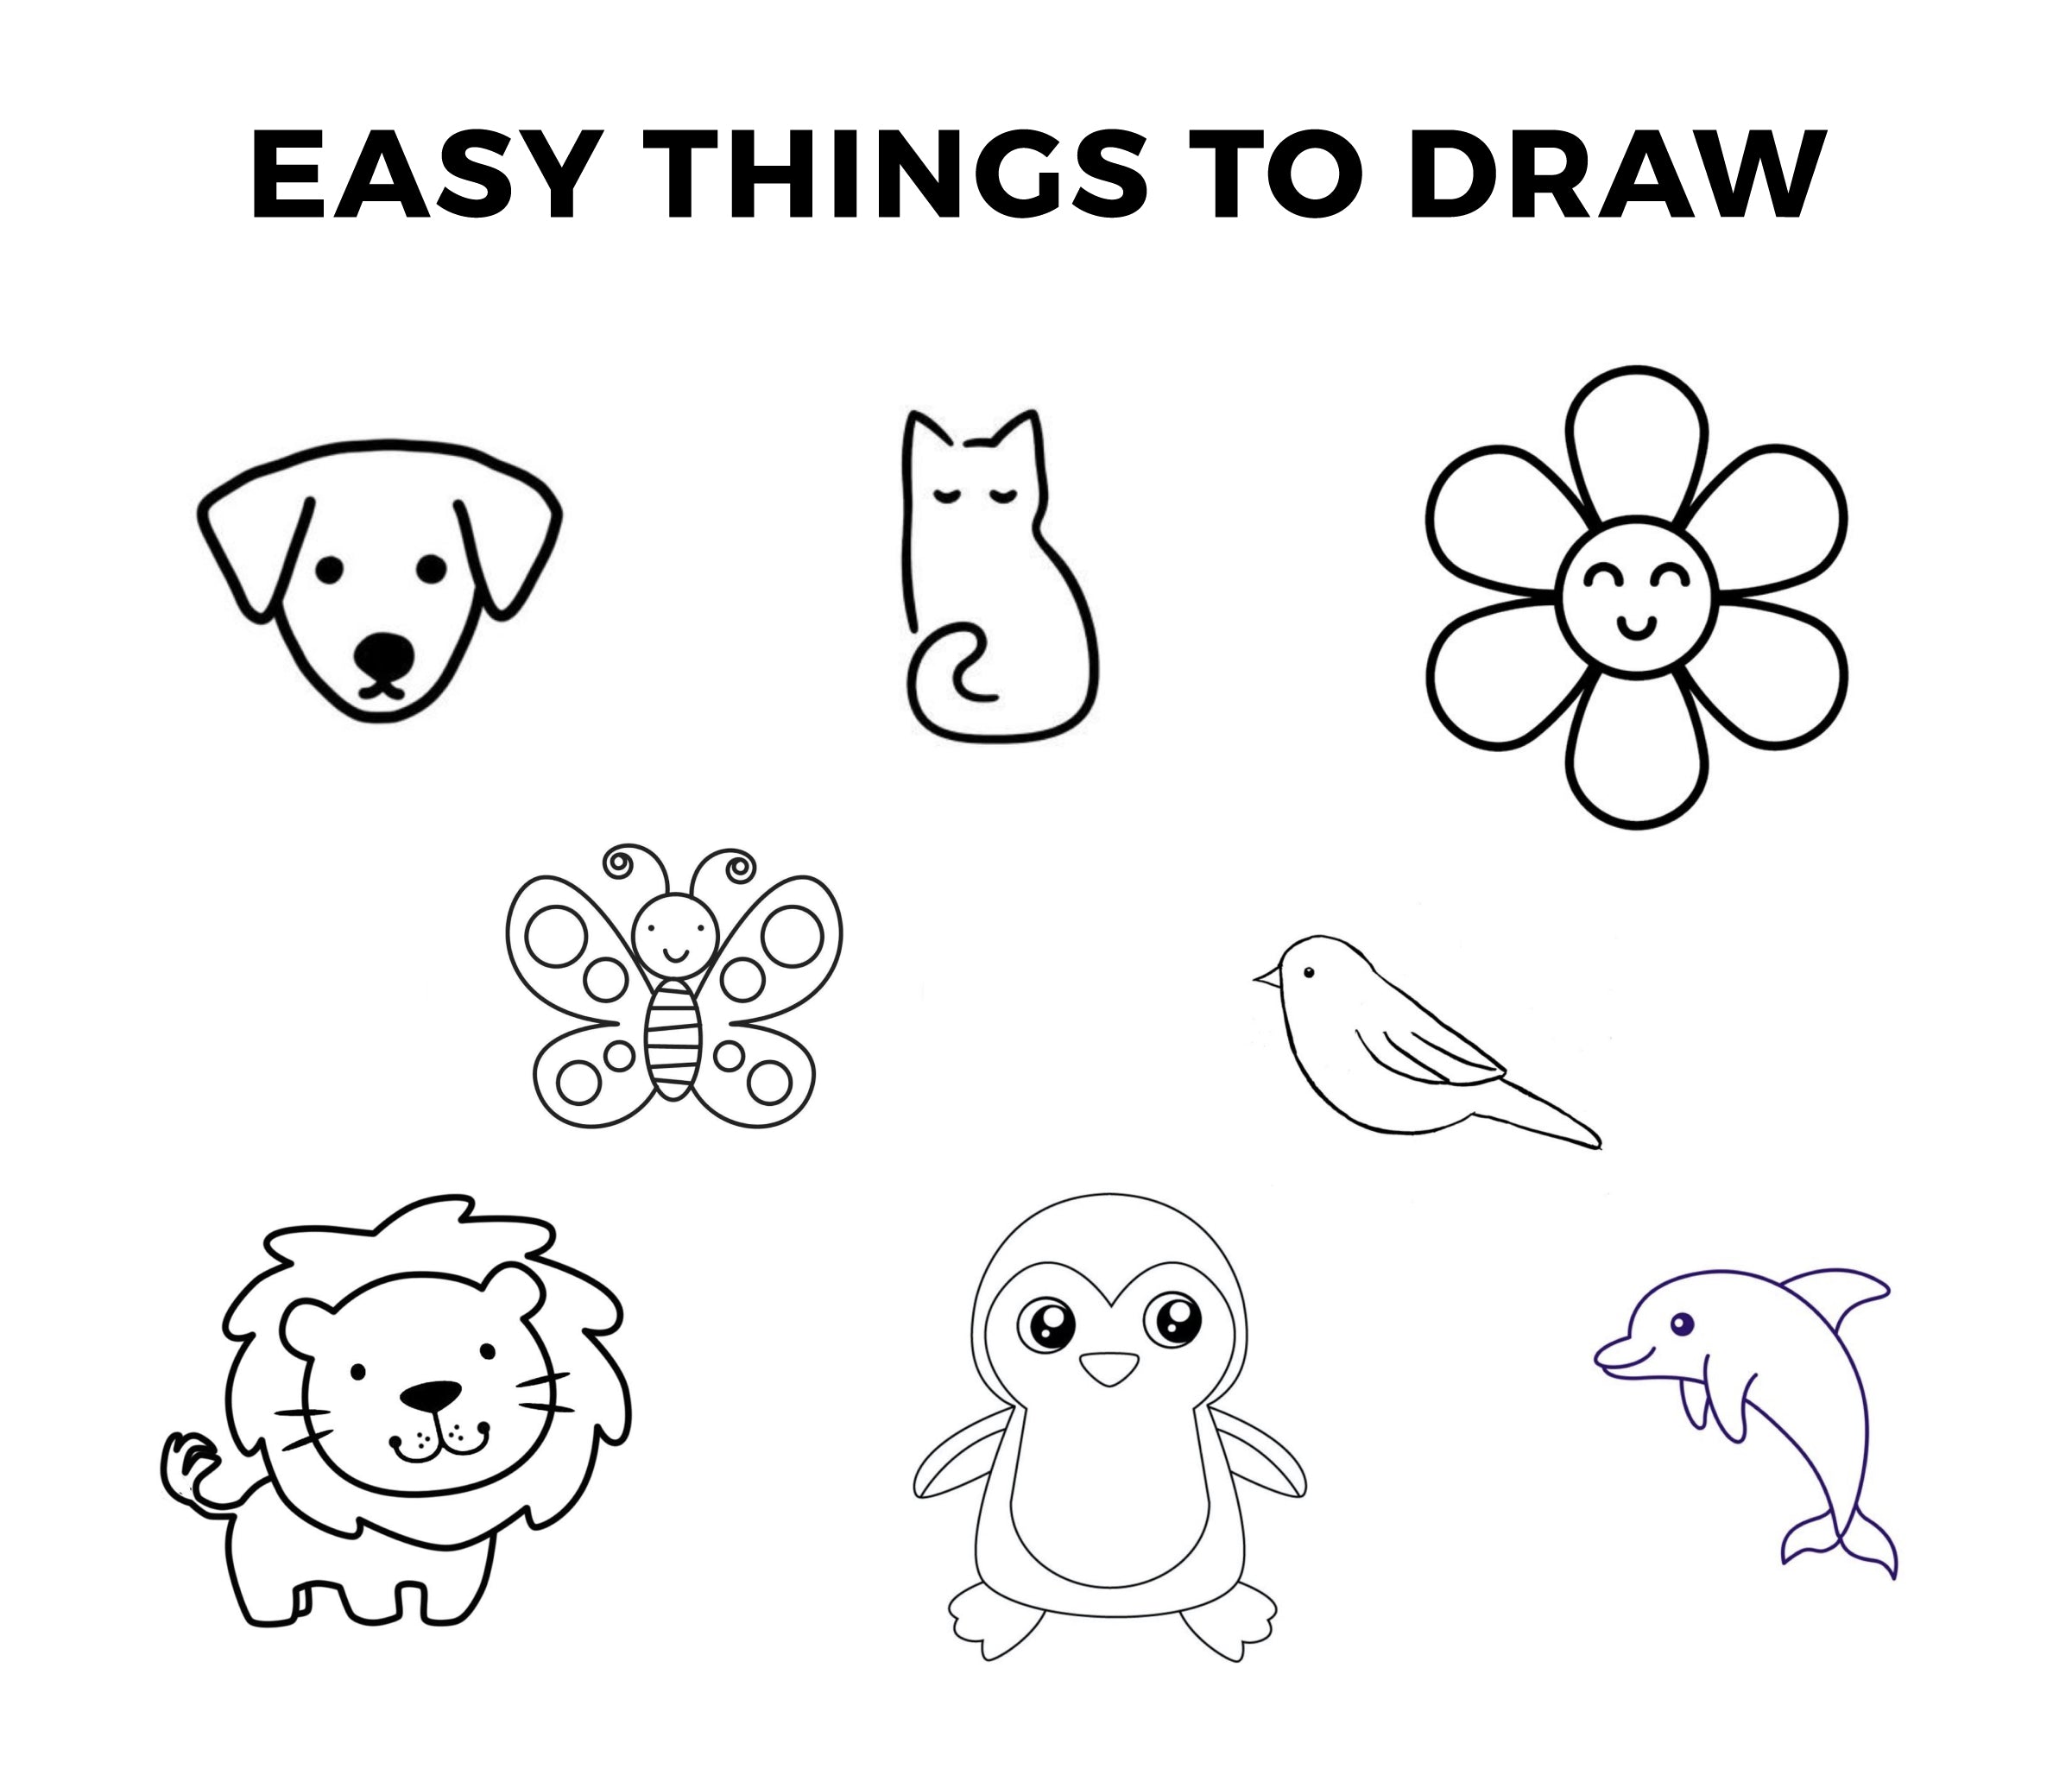
Easy Things to Draw (Drawing Ideas When You’re Bored) – CreativeBooster
