Gem Nail Design - Sparkle Your Fingertips
There is something truly special about nails that catch the light, drawing eyes with a little shimmer and shine. For many, a touch of sparkle on their fingertips just makes the day brighter, adding a bit of joy to everyday moments. It's a way to express a playful side, or maybe even a sophisticated one, all through the art on your nails. People really like seeing a bit of dazzle, and it can make you feel good, too, which is kind of the point of it all, isn't it?
This particular kind of nail art, you know, the one with the little shiny bits that look like tiny jewels, has become quite popular. It is almost like wearing miniature pieces of jewelry right on your hands. Folks enjoy how it makes their nails stand out, giving them a look that feels both fancy and fun. It's a style that lets you get really creative, whether you want just a hint of sparkle or a whole lot of it, which is pretty neat, if you ask me.
So, if you've been curious about how to get this look, or what goes into making those nails look like they're covered in precious stones, you've come to a good spot. We're going to talk about what makes this style so appealing, some ways you can try it yourself, and how to keep those shiny bits looking their best. It's really about bringing a little extra glow to your day, and honestly, who doesn't like a bit of that?
- Angelaalvarez Twitter
- Shannon Drayer Twitter
- Alex Coal Twitter
- Kodykarma Twitter
- Toothless Teddie Twitter
Table of Contents
- What Makes a Gem Nail Design So Popular?
- Getting Started with Your Own Gem Nail Design
- How Can You Pick the Right Gems for Your Gem Nail Design?
- Ideas for Your Next Gem Nail Design Look
- Caring for Your Gem Nail Design
What Makes a Gem Nail Design So Popular?
You know, there's just something about a gem nail design that really catches the eye. It's like having tiny, shiny treasures right on your fingertips, and people seem to really enjoy that feeling. This look has a way of making your hands feel a bit more special, a little more dressed up, even if you're just wearing your everyday clothes. It's pretty much a way to add a bit of sparkle to any outfit, which is quite nice, isn't it?
One reason it's so liked is how it lets you show off your own style. You can pick little stones that are clear and bright, or ones that have a lot of color. Some people like just one or two small ones, while others prefer to cover a whole nail in them. It's very flexible, so you can make it look exactly how you want, which is a big plus. It's like a small canvas where you can express yourself, you know?
Also, these designs tend to stand out. When the light hits them, they really do sparkle, and that gets people's attention. It's a conversation starter, too, as people often ask about them. So, it's not just about looking good, but also about having something unique that makes you feel good and perhaps even a bit more confident. That's a pretty powerful thing for something as simple as nail art, in a way.
- Kevin Oconnor Twitter
- Special Kherson Cat Twitter
- Kamwild Acecarter Gay
- Wiener Circle Twitter
- Karlye Taylor Leaked Of
The variety available is another big draw. You can find these little shiny bits in so many shapes and sizes. There are round ones, square ones, even tiny heart shapes. This means you can create all sorts of different patterns and looks, making each gem nail design truly one of a kind. It's really quite amazing how much you can do with them, honestly.
Finally, for many, it's just plain fun. Doing your nails, or having them done, can be a relaxing activity. Adding these little shiny pieces turns it into a creative project, and seeing the finished result is very satisfying. It's a small luxury, a little treat for yourself that brings a lot of joy, which is what it's all about, basically.
Getting Started with Your Own Gem Nail Design
If you're thinking about trying a gem nail design at home, the first thing to remember is that it's supposed to be fun, not a chore. You don't need a lot of fancy equipment to get started, just a few basic items and a bit of patience. It's like learning any new craft; you start small and then build up your skills. So, don't feel like you need to be an expert right away, because nobody is, you know?
The very first step is to get your nails ready. This means making sure they are clean and shaped how you like them. You'll want to push back your cuticles gently and perhaps buff the nail surface a little. This helps whatever polish or base you put on next stick better. It's a bit like preparing a wall before you paint it; a good foundation makes a big difference, obviously.
Next, you'll put on a base coat. This is important for protecting your natural nails and also for helping your colored polish stay on longer. Let that dry completely before moving on. Then, you'll apply your chosen nail polish color. You might need two thin coats to get a nice, even look. Make sure each coat is dry before adding the next one. This step is pretty straightforward, but it's crucial for the overall look of your gem nail design.
Once your color is dry, you're ready for the fun part: adding the gems. You'll need a clear top coat or a special nail glue for this. Apply a small dot of the top coat or glue where you want to place your gem. Then, carefully pick up a gem with a special tool or even a toothpick that has a bit of wax on the end, and place it onto the wet spot. Press it down gently so it really sticks. It's a bit delicate, but you'll get the hang of it, you know?
After all your gems are in place, you'll want to seal them in. Apply another layer of clear top coat over the entire nail, making sure to go over the gems to help hold them down. This also gives your gem nail design that extra shine. Let everything dry really well, and then you're done! It's a process that takes a little time, but the results are pretty rewarding, actually.
What Tools Do You Need for a Sparkling Gem Nail Design?
When you're thinking about creating a sparkling gem nail design, having the right little helpers can make a big difference. You don't need a huge collection of fancy gadgets, but a few specific items will make the process much smoother. It's like having the right spoon for the right dish; it just works better, you know?
First off, you'll want some good quality nail polish. This includes a base coat, your chosen color, and a top coat. The top coat is super important because it's what will help hold those tiny gems in place and give your gem nail design that lovely, finished shine. Some people even use a stronger nail glue for bigger gems, but a good top coat often does the trick for smaller ones, which is pretty convenient.
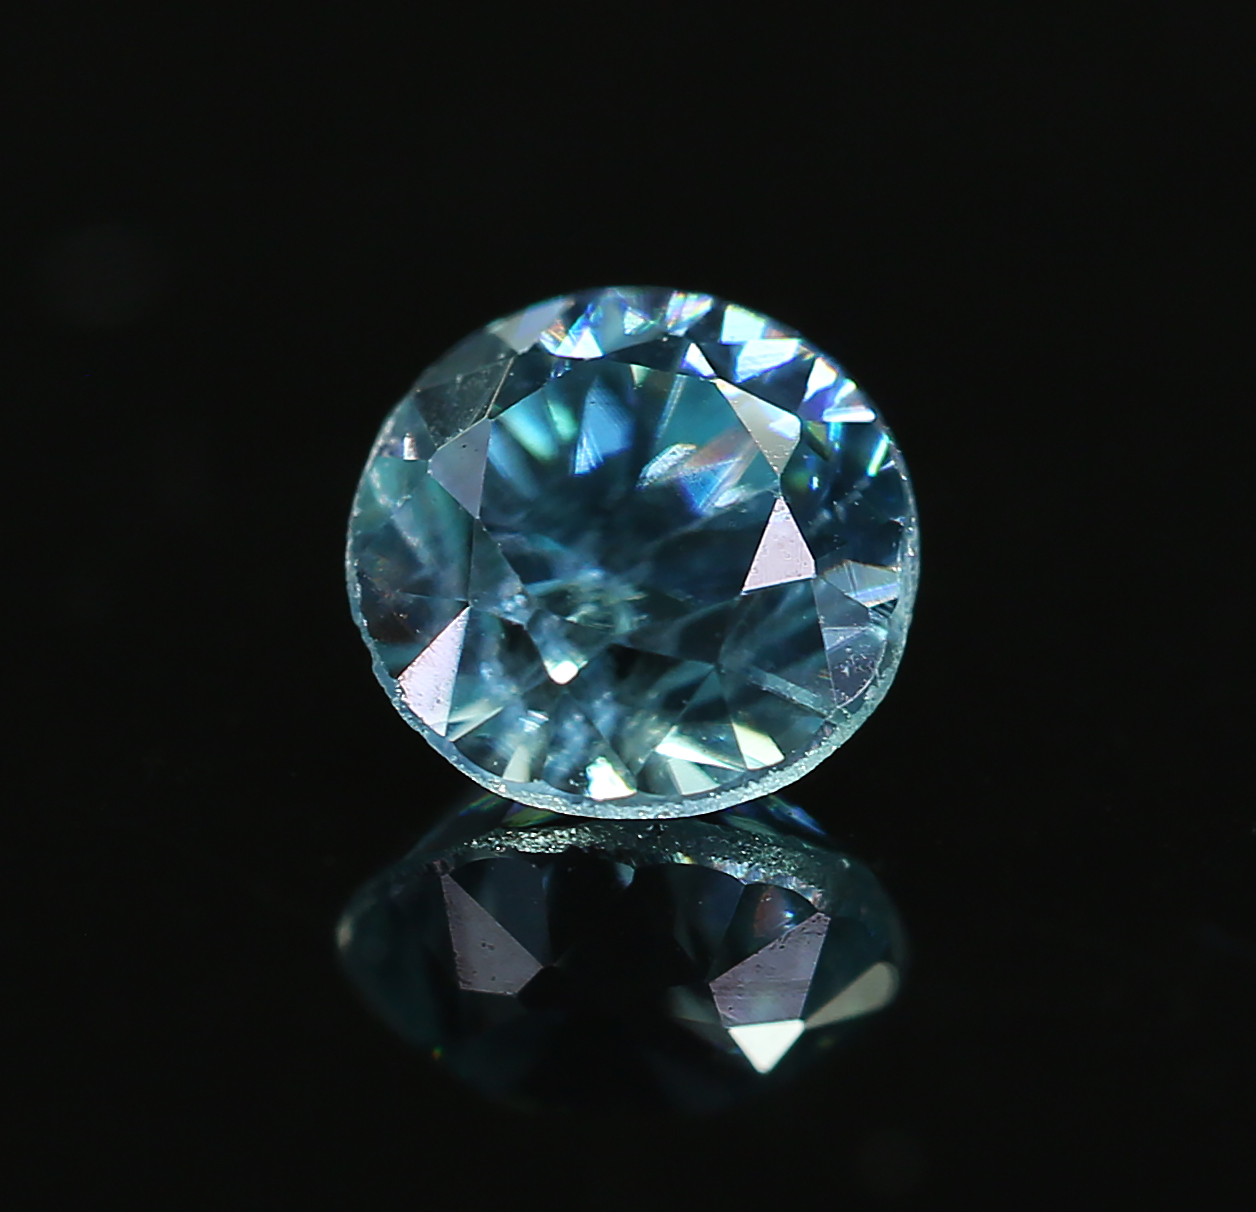
Next, you'll need the gems themselves. These come in all sorts of sizes, shapes, and colors. You can find them in craft stores, beauty supply shops, or online. It's a good idea to start with a small variety pack so you can play around and see what you like best for your gem nail design. They're often called rhinestones or nail crystals, just so you know what to look for, basically.
For picking up and placing the gems, a wax-tipped tool or a pair of fine tweezers is really helpful. These tools let you grab those tiny pieces without them slipping all over the place. Some people even use a damp toothpick or an orange stick with a little bit of clear polish on the end to pick them up. It's about finding what feels comfortable and works for you when you're working on your gem nail design, you know?
Lastly, a small dish or tray to put your gems in while you're working can prevent them from rolling away. It keeps everything tidy and makes it easier to pick up the next piece. So, with these few things, you're pretty much ready to create some lovely, shiny nails. It's not too much to gather, and it makes the whole experience a lot more enjoyable, honestly.
How Can You Pick the Right Gems for Your Gem Nail Design?
Choosing the right gems for your nail design can feel a bit overwhelming with all the options out there, but it's really about what you like and what kind of look you're going for. Think of it like picking out accessories for an outfit; some things just go better together. So, don't stress too much about it, because there's no single "right" answer, you know?
Consider the size of your nails. If you have smaller nails, very large gems might look a bit too much. Smaller, more delicate gems or a few tiny ones might be a better fit. On the other hand, if you have longer nails, you might be able to handle a bigger statement gem. It's all about balance and what feels good on your hands, which is pretty important.
Think about the color of your nail polish. Do you want the gems to blend in or stand out? Clear or iridescent gems go with pretty much any polish color and add a subtle sparkle. If you want a bolder look, you could choose gems that match or contrast with your polish. For example, a deep blue polish with silver gems can look really striking, or a soft pink with clear ones for a more gentle feel. It's really up to your personal taste, you know?
Also, think about the occasion. Are you doing your gem nail design for everyday wear, or for a special event? For daily life, you might prefer flatter, smaller gems that are less likely to catch on things. For a party or celebration, you could go for more raised, sparkly ones that really make a statement. It's about finding what fits the situation, basically.
Finally, don't be afraid to mix and match. You don't have to use just one type of gem. You could use a larger gem as a centerpiece and surround it with smaller ones, or use different shapes together to create a unique pattern. Experimentation is part of the fun, and you might discover a look you absolutely love. So, just play around with it, you know?
Ideas for Your Next Gem Nail Design Look
When it comes to creating a gem nail design, the possibilities are pretty much endless, which is kind of exciting. You can draw inspiration from so many places, whether it's jewelry, clothing patterns, or even just a feeling you want to express. It's a chance to really let your creative side shine, you know?
One simple idea is to use a single gem as an accent. Pick one nail, maybe your ring finger, and place a small, pretty gem near the cuticle or in the center of the nail. This adds a touch of sparkle without being too overwhelming. It's a subtle way to incorporate the gem nail design trend into your everyday look, and it's quite elegant, too.
For something a bit more noticeable, you could create a "gem cluster." This involves placing several small gems close together, perhaps in a little group at the base of the nail or along one side. You can use gems of the same size and color for a neat look, or mix them up for something more playful. It's like building a tiny constellation on your nail, which is pretty cool, honestly.
Another popular approach is to make a "gem border." This is where you line the edge of your nail with tiny gems. It could be around the cuticle area, or along the free edge of the nail. This creates a very refined and polished look, almost like your nail has a little frame. It takes a steady hand, but the result is a really striking gem nail design, you know?
If you're feeling a bit more adventurous, try a "full gem nail." This means covering an entire nail with gems, leaving no space in between. This look is definitely a statement, and it catches the light in a spectacular way. It's perfect for a special occasion or when you just want to go all out with your gem nail design. It can take a little time to place all those gems, but the sparkle is definitely worth it, basically.
You could also combine gems with other nail art elements. Think about adding gems to a French tip, or placing them over a glitter polish for extra shine. They can also work well with simple lines or dots. The gems really act like little jewels that can elevate any design, making it look more luxurious. So, don't be afraid to mix and match different ideas, you know?
Can Anyone Create a Gem Nail Design at Home?
That's a really good question, and the answer is a definite yes! Creating a gem nail design at home is absolutely something anyone can try, regardless of how much experience they have with nail art. It might seem a bit tricky at first, but with a little practice and the right approach, you'll be putting tiny sparkles on your nails like a pro. It's really more about patience than skill, in a way.
The key is to start simple. Don't try to create a super complex design with dozens of tiny gems on your first go. Begin with just one or two small gems on an accent nail. This lets you get a feel for how to pick up and place the gems, and how much top coat or glue you need to use. It's like learning to ride a bike; you start with training wheels, you know?
Also, having the right tools makes a big difference, as we talked about earlier. A wax-tipped tool or fine tweezers can really help with the precision needed for placing those small gems. If you're struggling to pick them up, sometimes just touching the tip of a toothpick to a bit of clear polish and then to the gem can work wonders. It's about finding a method that feels comfortable for your hands, basically.
Don't be afraid to make mistakes. If a gem doesn't go where you want it, you can usually gently nudge it into place with your tool before the top coat dries. If it's really off, you can just pick it up and try again. It's part of the learning process, and honestly, nobody's perfect on their first try, which is totally fine.
There are also tons of helpful videos online that show you step-by-step how to create different gem nail design looks. Watching someone else do it can give you a lot of good tips and tricks. You can pause, rewind, and watch as many times as you need. So, with a little curiosity and a willingness to try, anyone can definitely add some sparkle to their nails right at home, you know?
Caring for Your Gem Nail Design
Once you've put all that effort into creating a beautiful gem nail design, you'll want to make sure it lasts as long as possible. These little gems, while pretty, can sometimes be a bit delicate, and they need a little care to stay put and keep their shine. It's like taking care of a favorite piece of jewelry; a little attention goes a long way, basically.
The most important thing is to be gentle with your hands. Try to avoid banging your nails against hard surfaces or using them as tools to open things. This can cause the gems to pop off or the polish to chip, which is definitely something you want to avoid. Just being mindful of your movements can really help preserve your gem nail design, you know?
Wearing gloves for chores that involve water or harsh chemicals is also a very good idea. Things like washing dishes, cleaning, or gardening can be tough on your nails and the gems. The water can weaken the adhesive, and chemicals can dull the shine of the gems or even damage the polish. So, a simple pair of rubber gloves can be a real lifesaver for your gem nail design, honestly.
If you notice a gem starting to lift or feel loose, you can often fix it with a tiny dot of clear top coat or nail glue. Just apply it under the gem, press it down gently, and let it dry completely. This can help extend the life of your design and prevent you from losing a gem entirely. It's a quick little touch-up that can make a big difference, you know?
Also, try to reapply a thin layer of clear top coat every few days. This not only adds extra protection for your gems, but it also refreshes the shine of your entire manicure. It's like giving your gem nail design a little boost, keeping it looking fresh and new. This simple step can really help your sparkling nails last longer, which is pretty great.
Where to Find Inspiration for a New Gem Nail Design?
Looking for new ideas for your gem nail design can be a fun part of the whole process. There are so many places to get inspiration, and sometimes the best ideas come from unexpected sources. It's like when you're looking for a new outfit; you might see something in a magazine or on someone walking by, and it just clicks, you know?
Social media platforms are a huge source of inspiration. Websites where people share pictures, like those focused on beauty or fashion, are full of nail art ideas. You can search for "gem nail design" or "rhinestone nails" and see countless examples from people all over the world. It's a great way to see what's popular and what kinds of looks others are creating, basically.
Nail salons often have display books or online galleries of their work. Even if you're doing your nails at home, looking at professional designs can spark your own creativity. You might see a color combination or a gem placement that you hadn't thought of before. It's like getting ideas from the pros, which is pretty smart, honestly.
Fashion and jewelry can also be big sources of ideas. Look at how gems are used in necklaces, rings, or clothing. The way they are arranged or the colors they are paired with can give you ideas for your nails. A beautiful pattern on a dress might translate into a lovely gem nail design. It's about seeing the world with an artistic eye, you know?
And sometimes, the best inspiration comes from just playing around. Get out your gems and polishes and just start experimenting on a nail wheel or even a practice nail. You might stumble upon a unique combination or a new way to place gems that you absolutely love. It's all about letting your imagination lead the way, and that's often where the most interesting gem nail design ideas come from, you know?

9 Gems That Will Make You Feel Like a Peasant | Britannica
Zircon

List of gemstones – Artofit
